
Welcome to the wonderful world of punch needling! If you’re looking for a relaxing, creative hobby that produces beautiful textile art, punch needling might be just what you need. In this blog post, I’ll share everything you need to know to get started with this addictive craft.
What is Punch Needling?
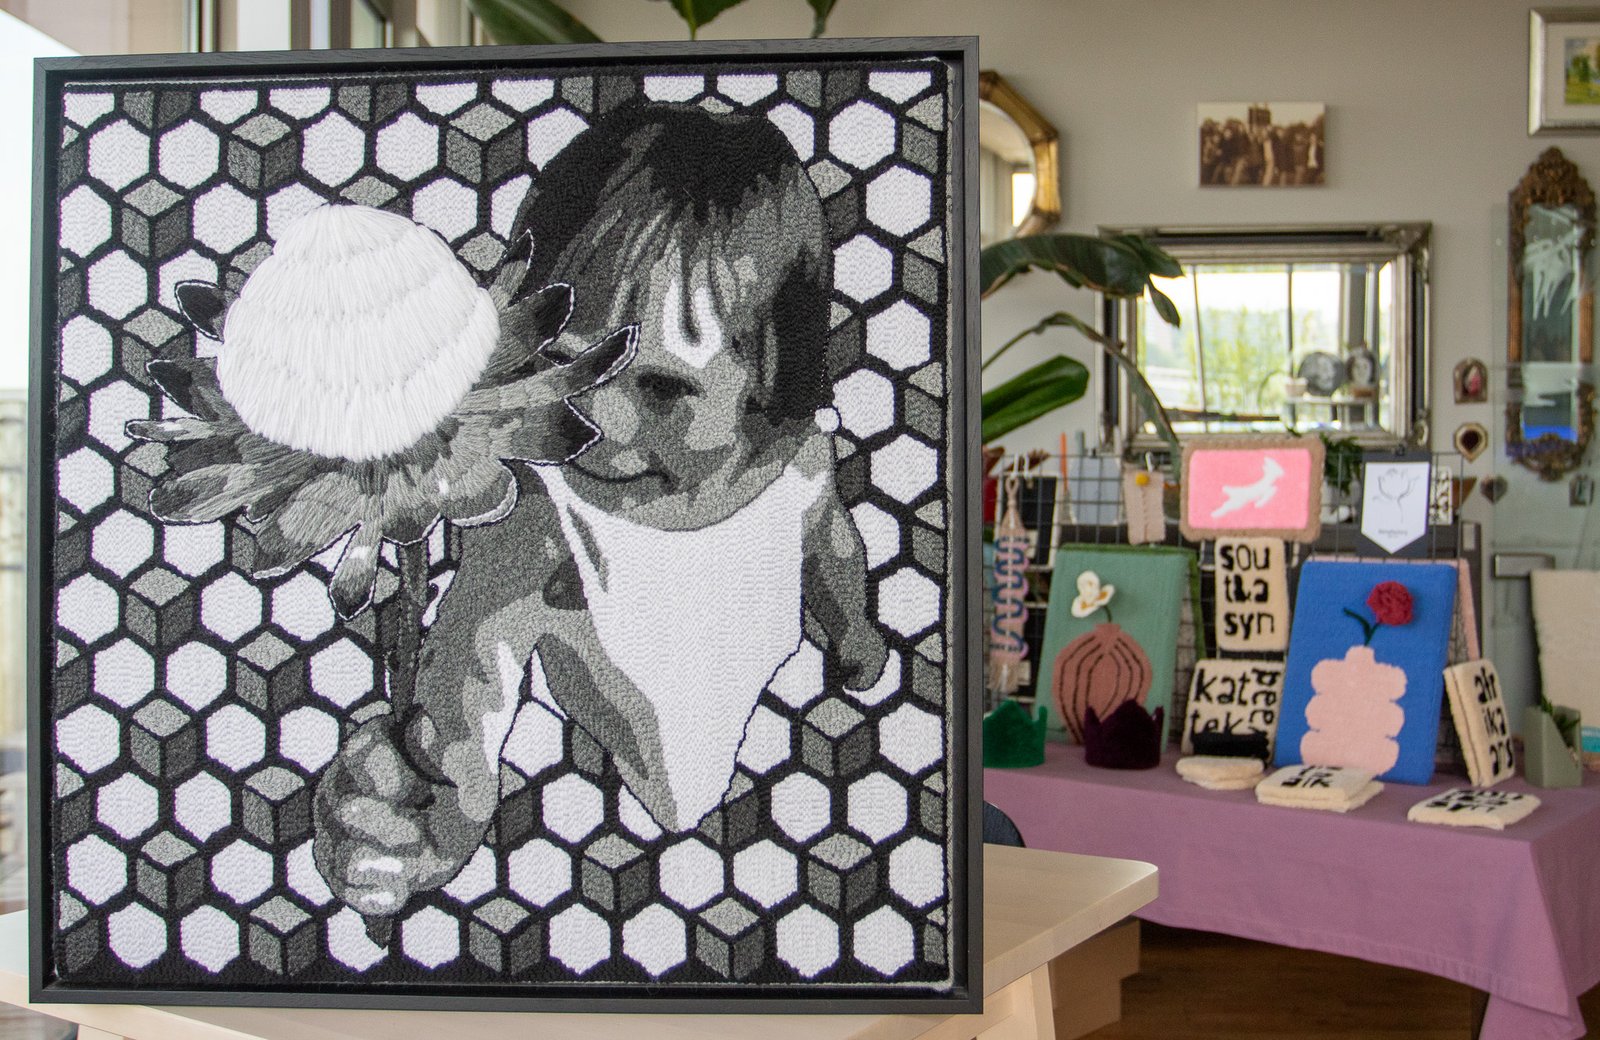
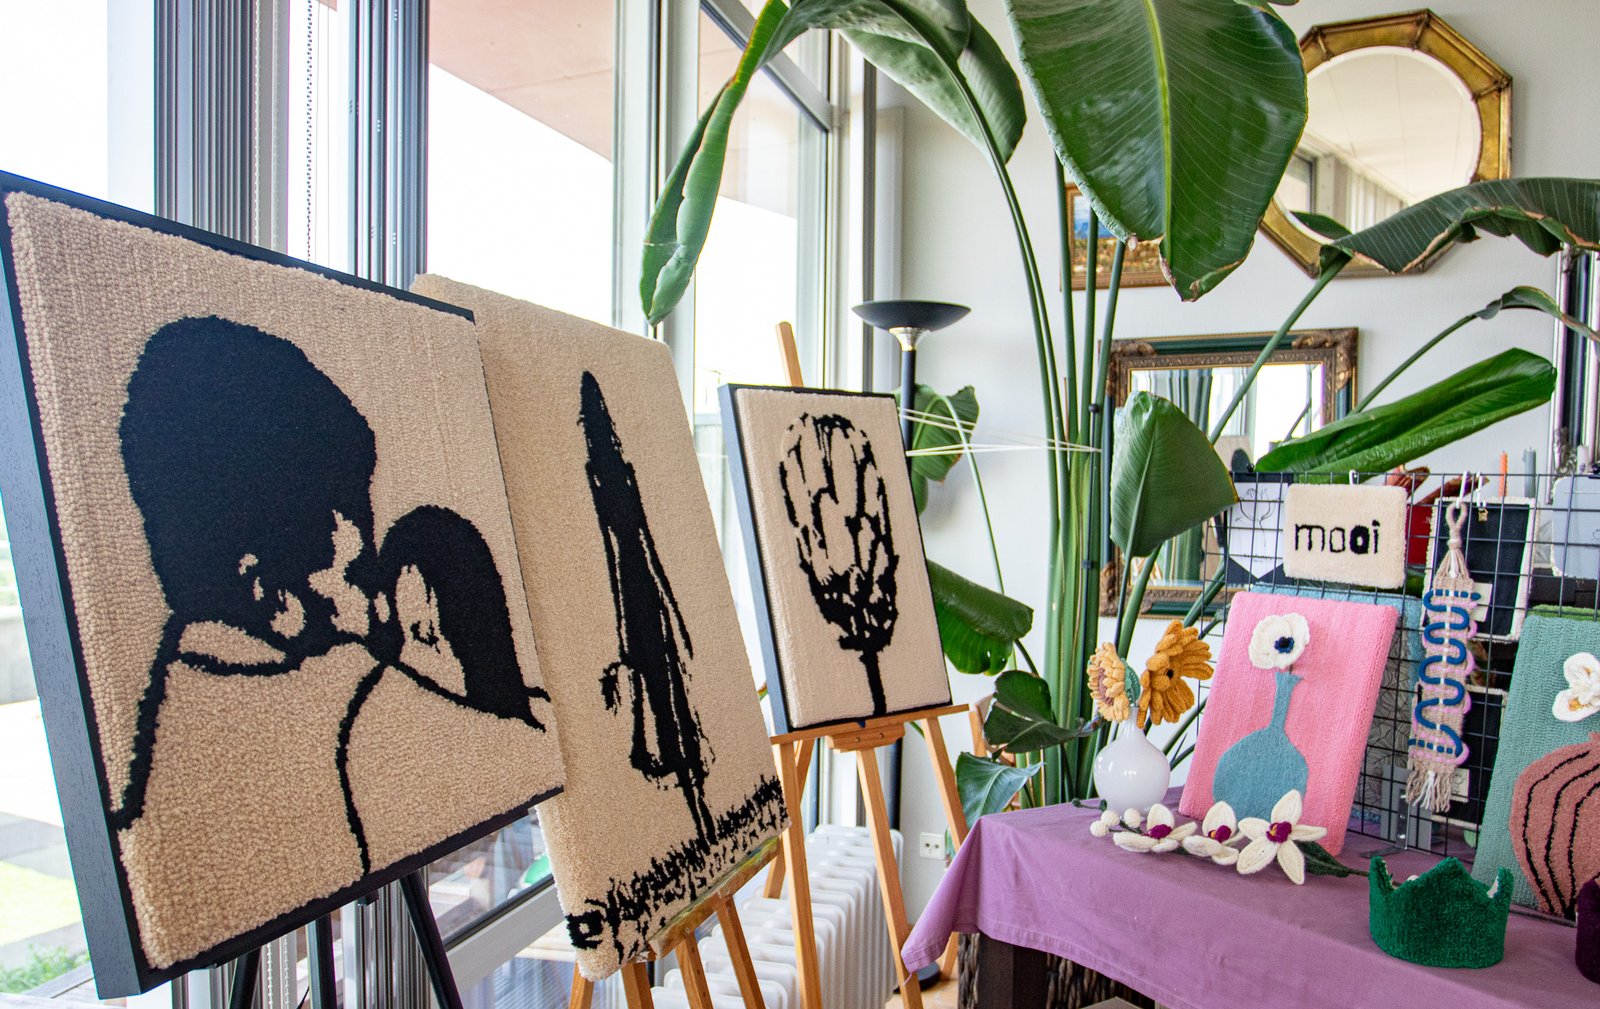
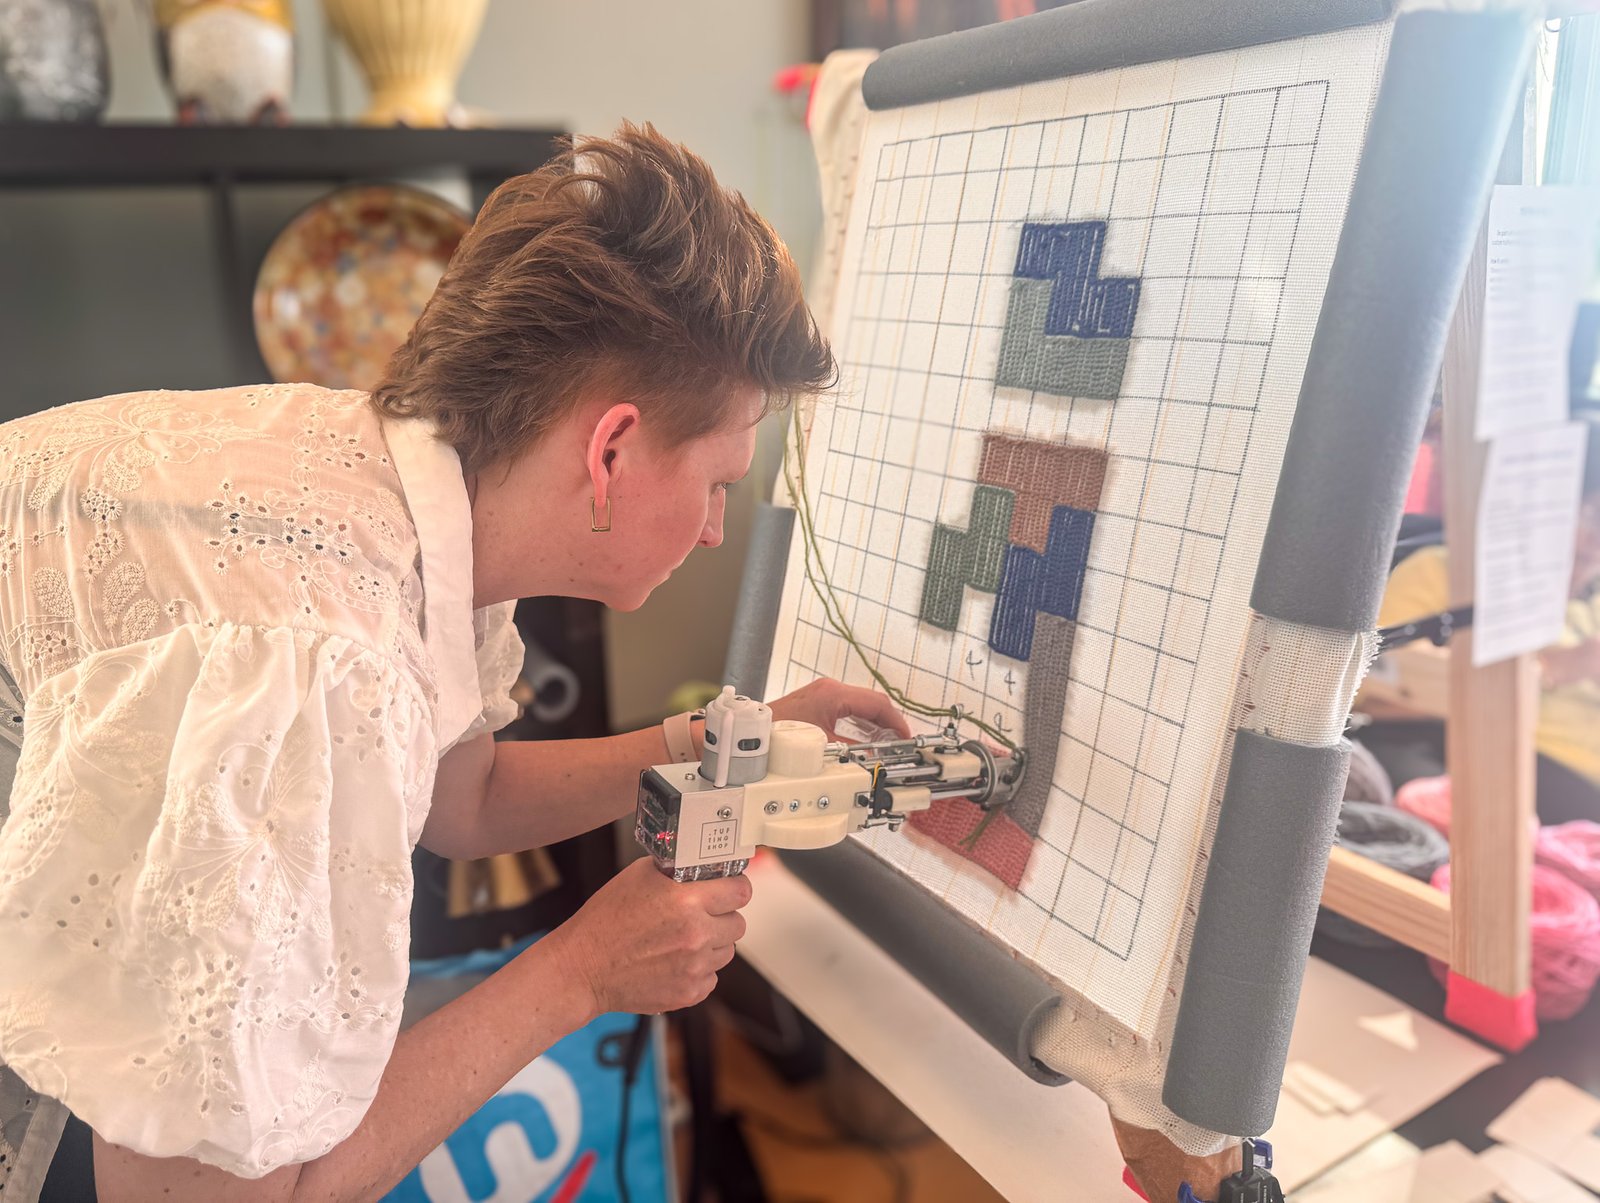
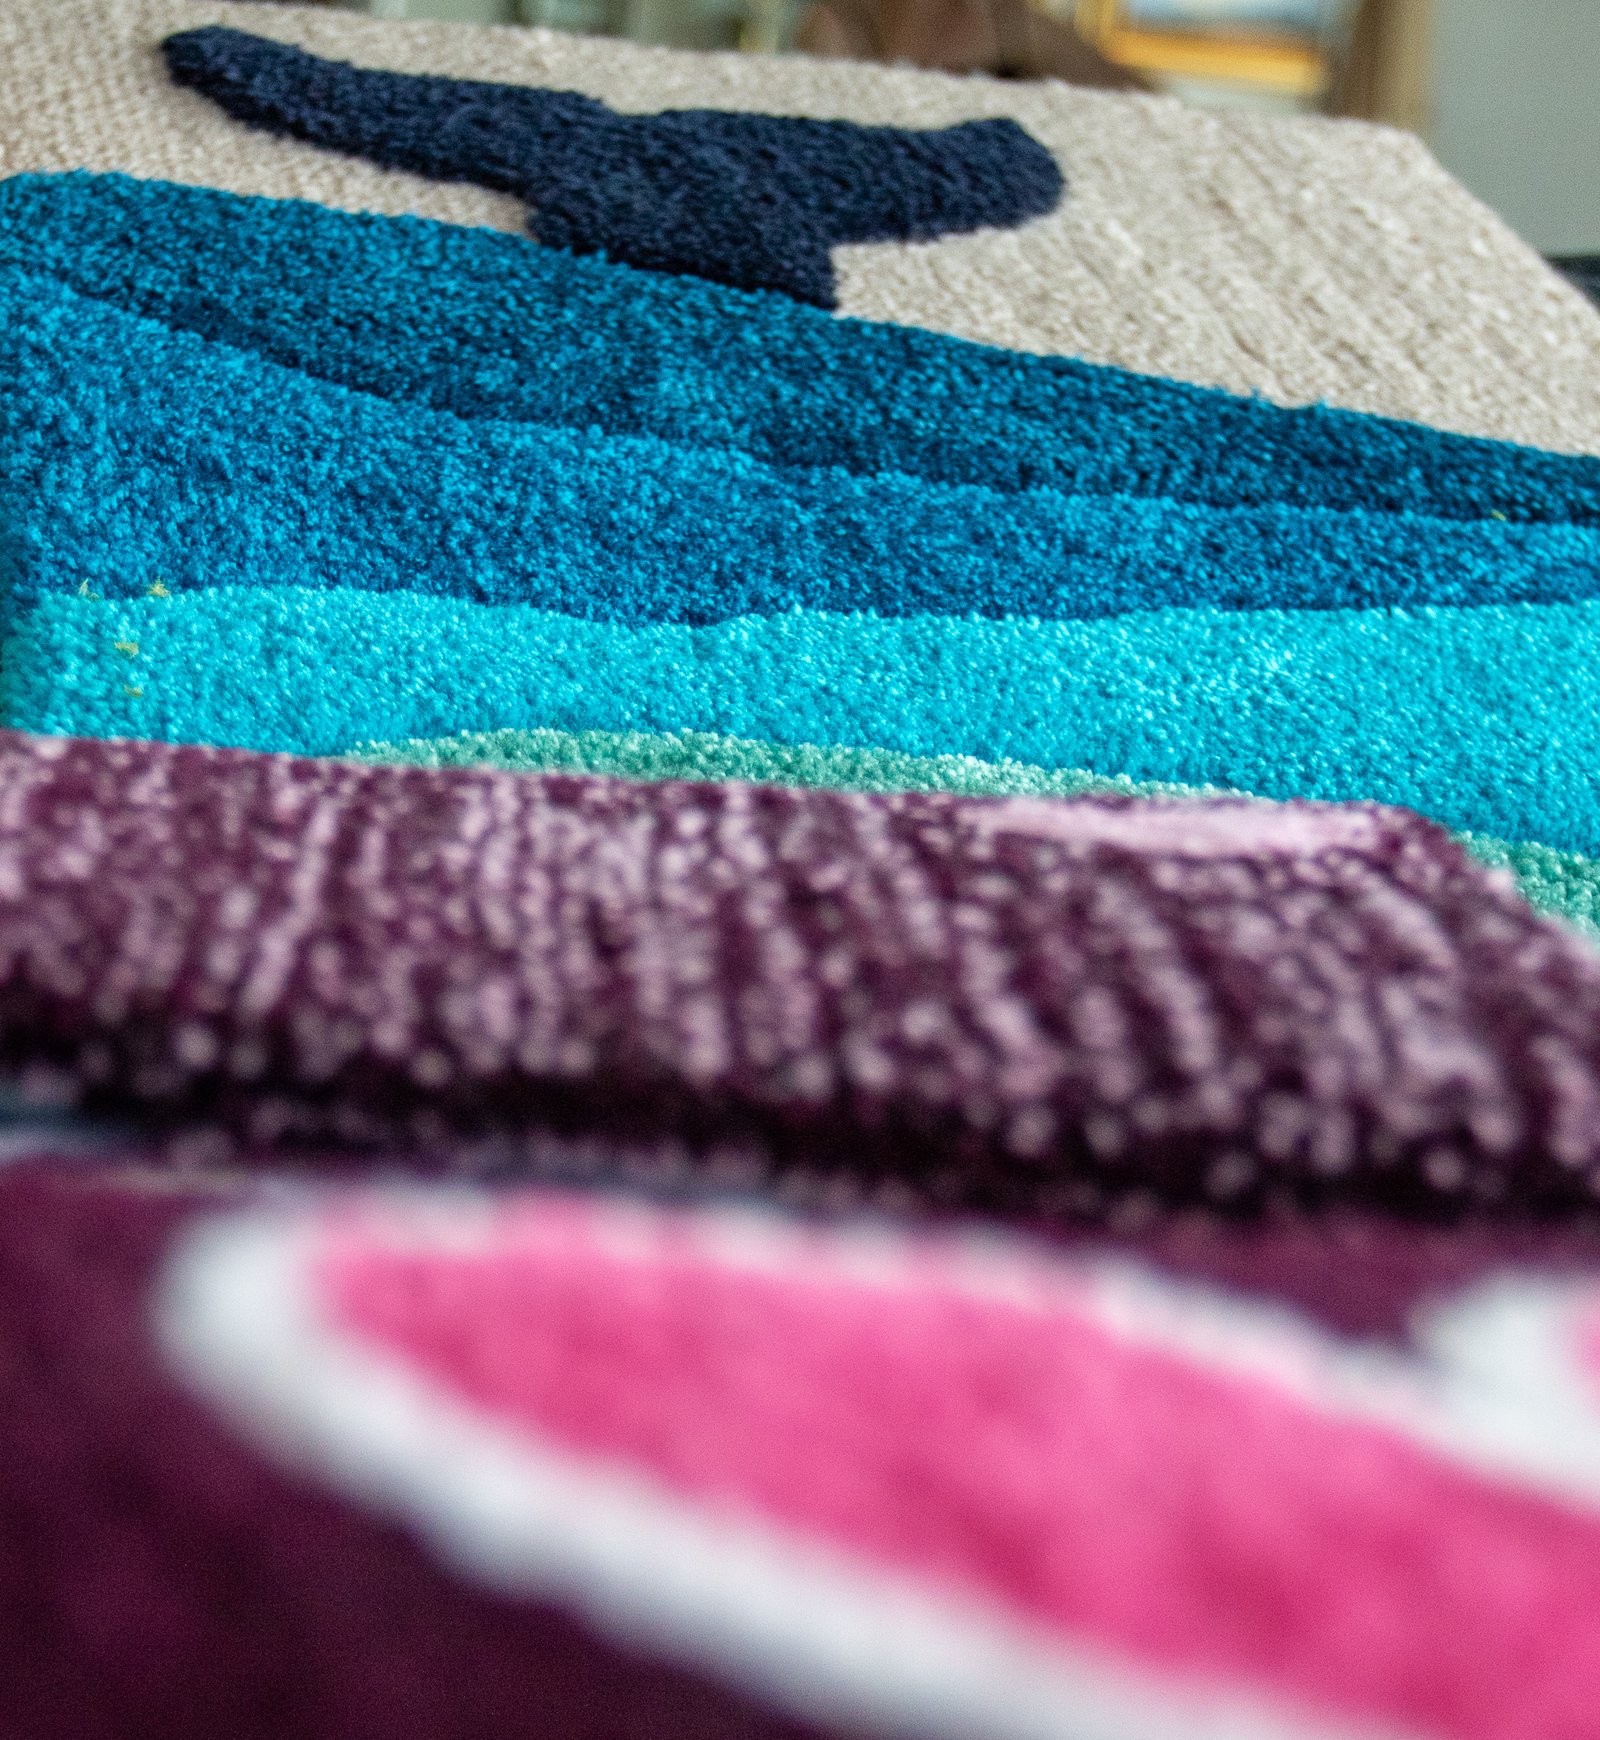
Punch needling (also called needle punching) is a textile art form where you use a special hollow needle to push yarn or thread through fabric, creating loops on the opposite side. The result is a plush, textured piece that resembles a small rug or tapestry. Unlike embroidery where your stitches remain on the working side, in punch needling, the loops appear on the opposite side of your fabric.
Getting Started: Essential Supplies
- Punch Needle Tool: This is your main tool – a hollow needle with a handle. Popular brands include Oxford, Amy Oxford, and LOOPS.
- Foundation Fabric: Monk’s cloth or weaver’s cloth work best as they have the perfect weave to hold your loops in place.
- Embroidery Hoop or Frame: To keep your fabric taut while working.
- Yarn or Thread: The thickness depends on your needle size. Options range from embroidery floss to chunky wool.
- Scissors: For trimming your yarn or thread.
- Pattern: You can draw directly on your fabric or transfer a design.
The Basic Technique
The punch needling process is relatively simple once you get the hang of it:
- Thread your punch needle according to the manufacturer’s instructions.
- Stretch your foundation fabric tightly in an embroidery hoop or frame.
- Hold the punch needle like a pencil, with the beveled opening facing the direction you’re working.
- Push the needle all the way through the fabric until the handle touches the surface.
- Move the needle forward about 1/8 inch (staying in the fabric) and push down again.
- Continue this motion, following your pattern lines.
Tips for Beginners
- Keep your fabric drum-tight: Loose fabric will result in loose loops that may pull out.
- Maintain consistent depth: Always push the needle all the way down to the handle for even loops.
- Work in small sections: Complete one area before moving to another to avoid accidentally pulling out your work.
- Don’t worry about mistakes: Simply pull out the yarn and try again – that’s the beauty of punch needling!
Creative Project Ideas

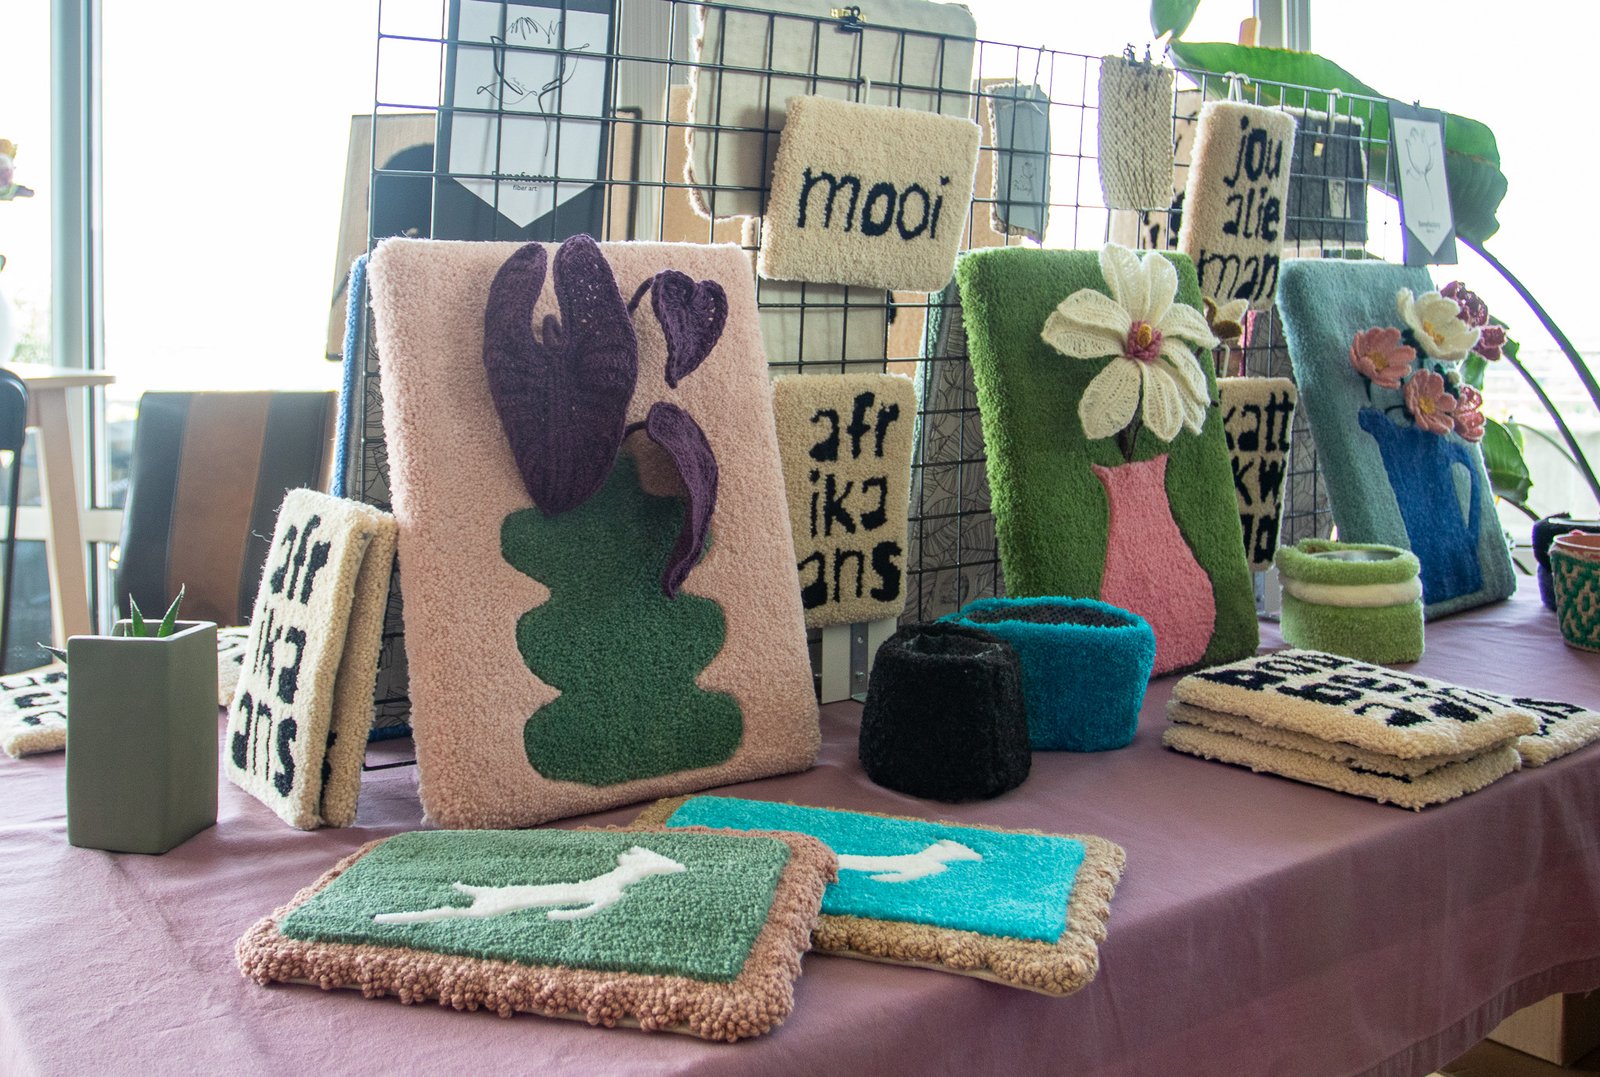
Once you’ve mastered the basics, try your hand at these punch needle projects:
- Wall hangings and tapestries
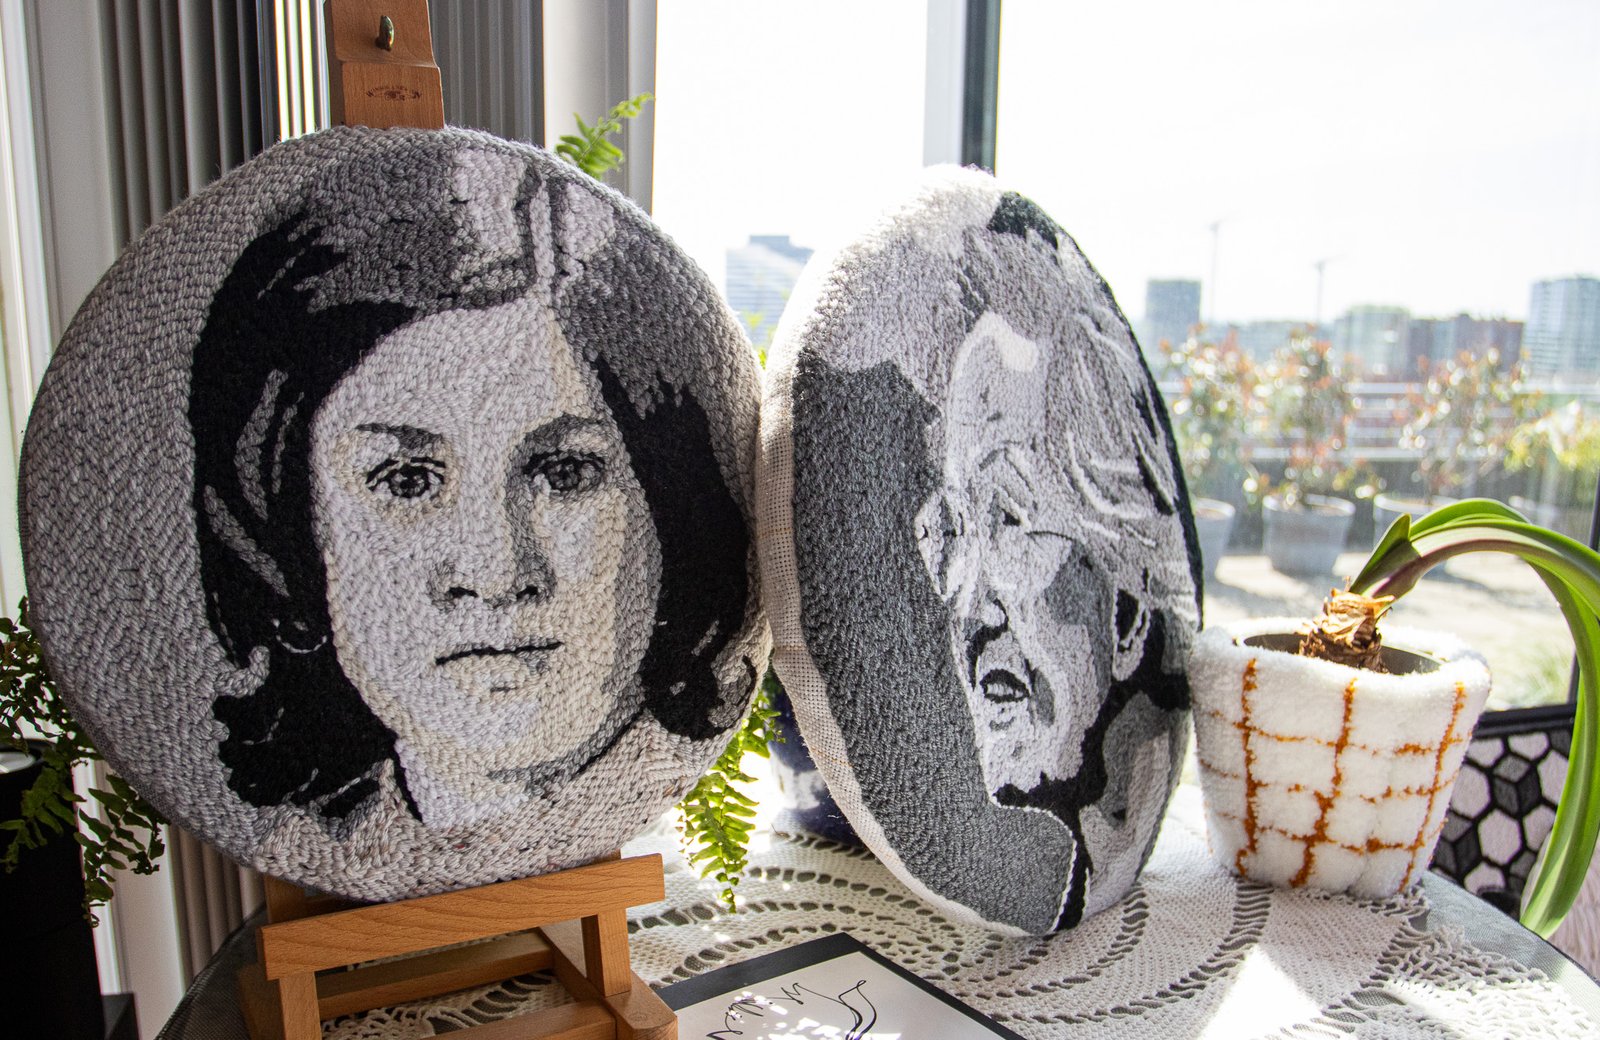
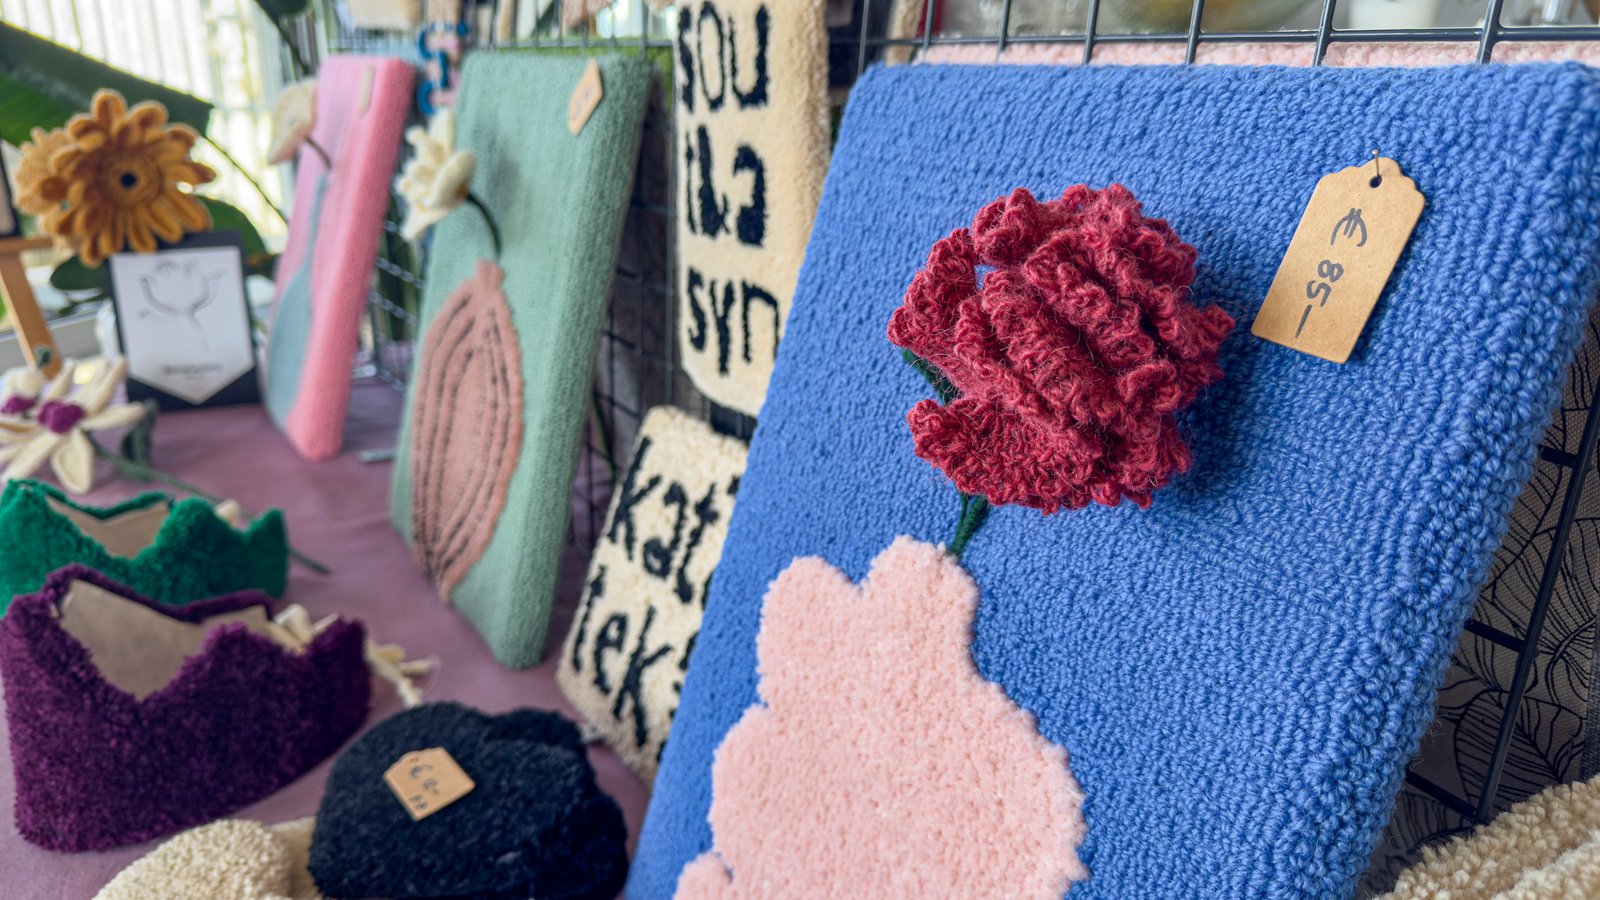
- Pillow covers
- Coasters and trivets
- Small rugs or mats
- Holiday ornaments
- Patches for clothing
Why I Love Punch Needling
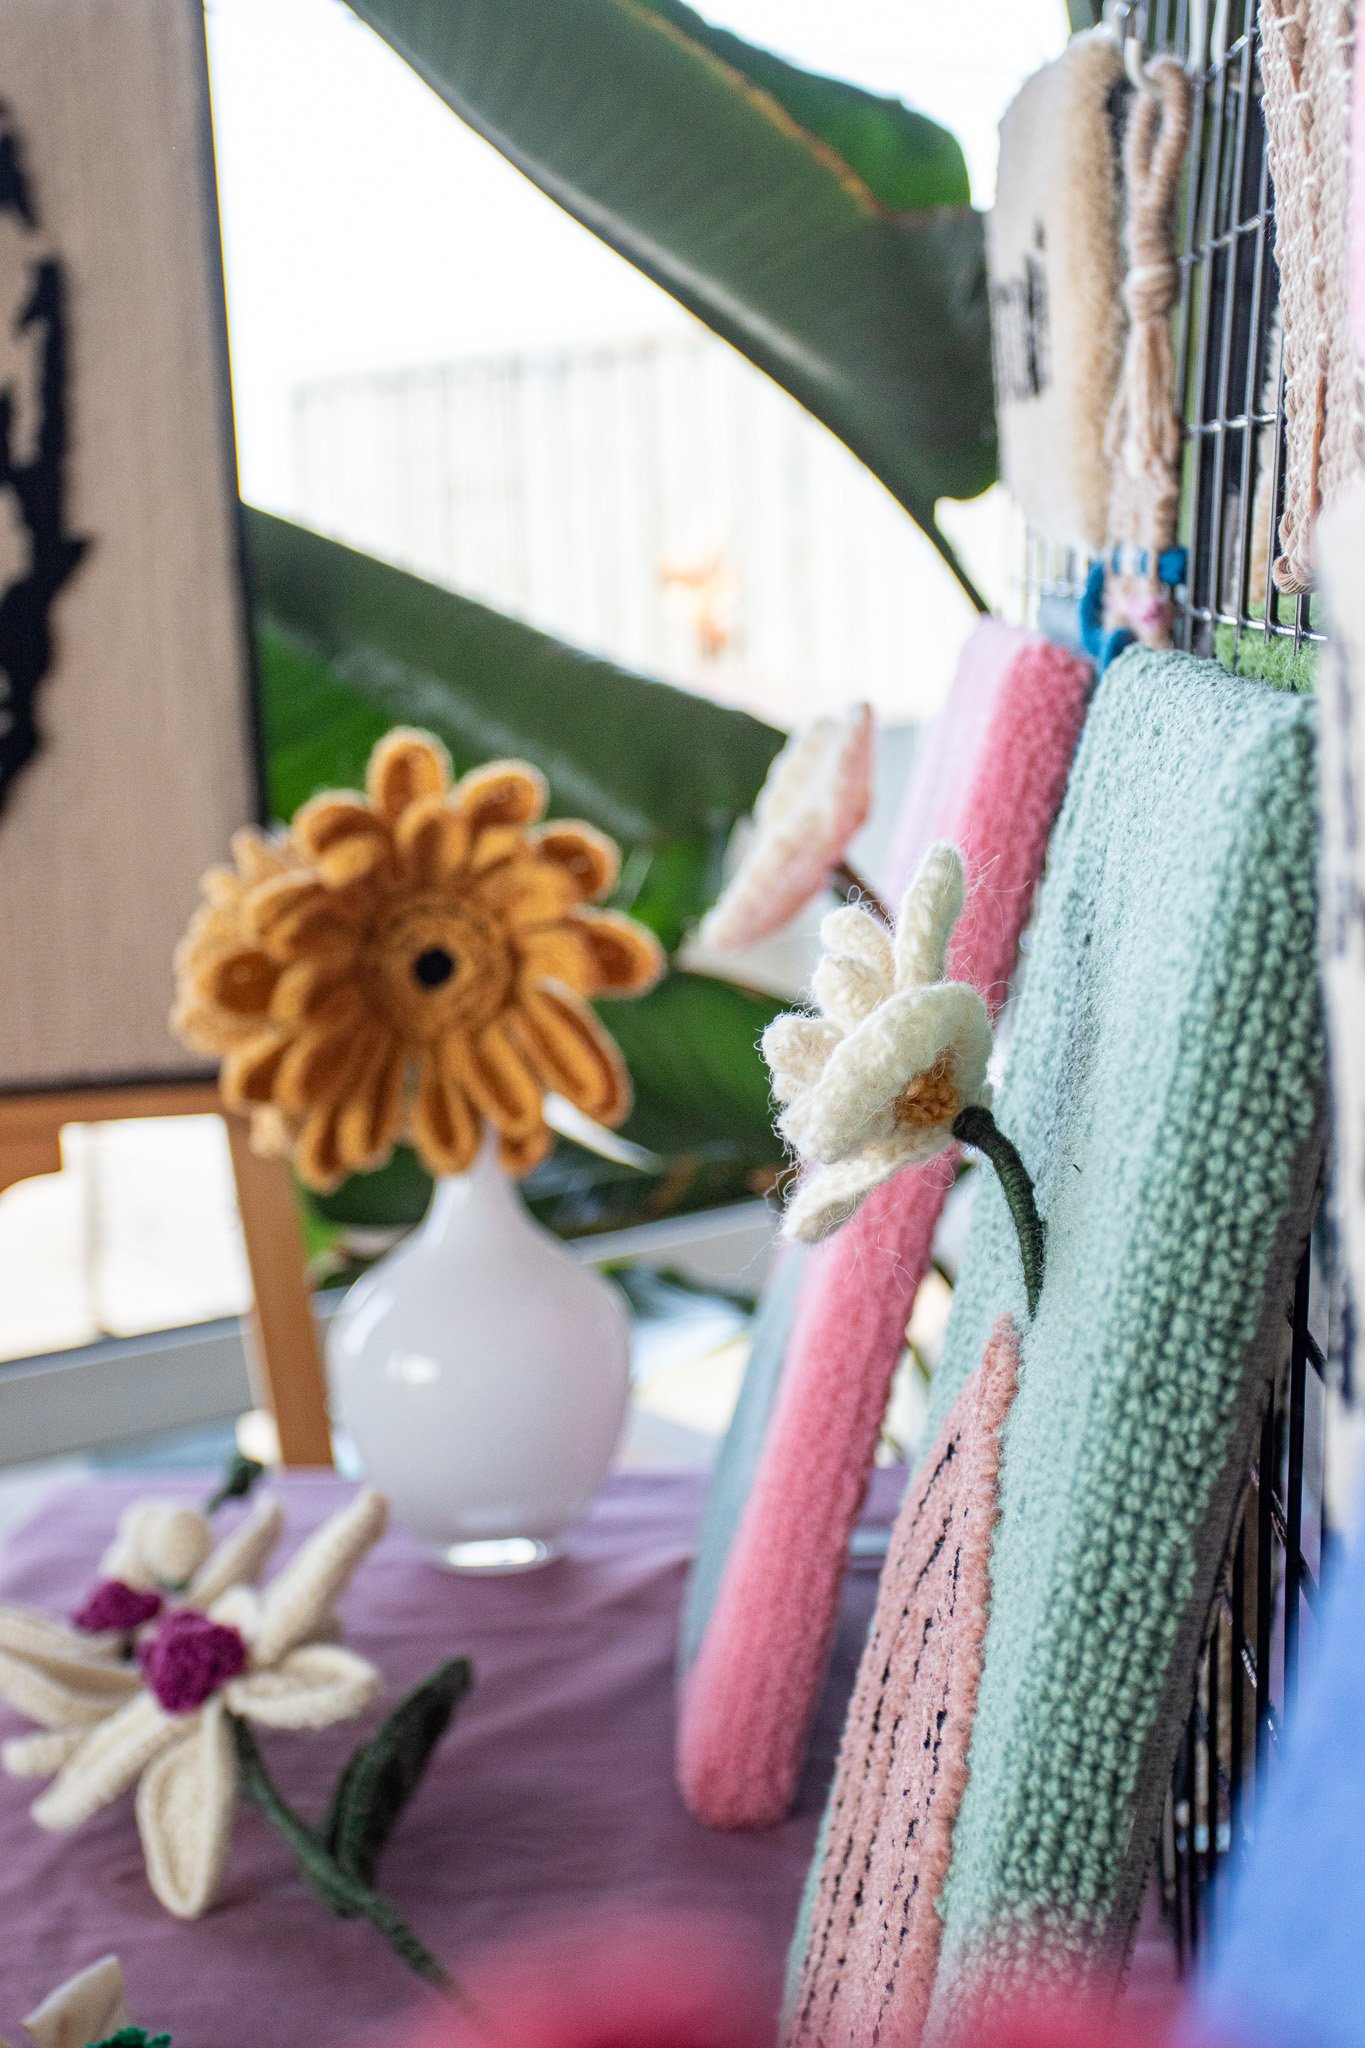
What makes punch needling so special is how accessible it is for beginners while still offering endless creative possibilities for experienced crafters. The repetitive motion is incredibly meditative, making it perfect for unwinding after a long day. And unlike many crafts, you can create impressive pieces relatively quickly – perfect for those of us who love to see results!
Join the Community
The punch needling community is growing rapidly, with many artists sharing their work and techniques online. Instagram and Pinterest are great places to find inspiration, and there are numerous YouTube tutorials to help you develop your skills.
Final Thoughts
Punch needling is more than just a craft – it’s a form of self-expression that connects us to textile traditions while allowing for modern interpretation. Whether you’re looking to create beautiful home decor or simply enjoy a relaxing hobby, punch needling has something to offer everyone.
Have you tried punch needling before? I’d love to hear about your experiences in the comments below!